Show summary Hide summary
Why Mold Likes Your Shower Seals
The strips and seals lining your shower don’t just look neat—they’re crucial for stopping water from seeping through the tiles and into your walls. But over time, constant exposure to moisture can turn these areas into a habitat for mold and mildew. If you’re not regularly cleaning the shower seals, they can lose their power to keep out water. This lets moisture linger and collect, paving the way for dark marks—or worse, full-blown mold—to appear.
Everyday Maintenance: Keep Moisture at Bay
Staying ahead of mold is all about prevention. After every shower, it’s essential to ventilate the space well. Open a window or switch on an extractor fan to help clear out the humid air faster. Once you’re done showering, take a towel or a dry cloth and wipe down the seals and grout lines. This simple habit can stop water pooling and dramatically reduce your mold risk—think of it as a quick workout for your arms, no gym membership required!
Anglo-Saxon burial reveals “unprecedented” secrets: experts stunned by 1,400-year-old grave mysteries
What Your Instinctive Tree Choice Reveals About Your Personality—Experts Explain
How to Remove Yellowing or Mold from Shower Seals
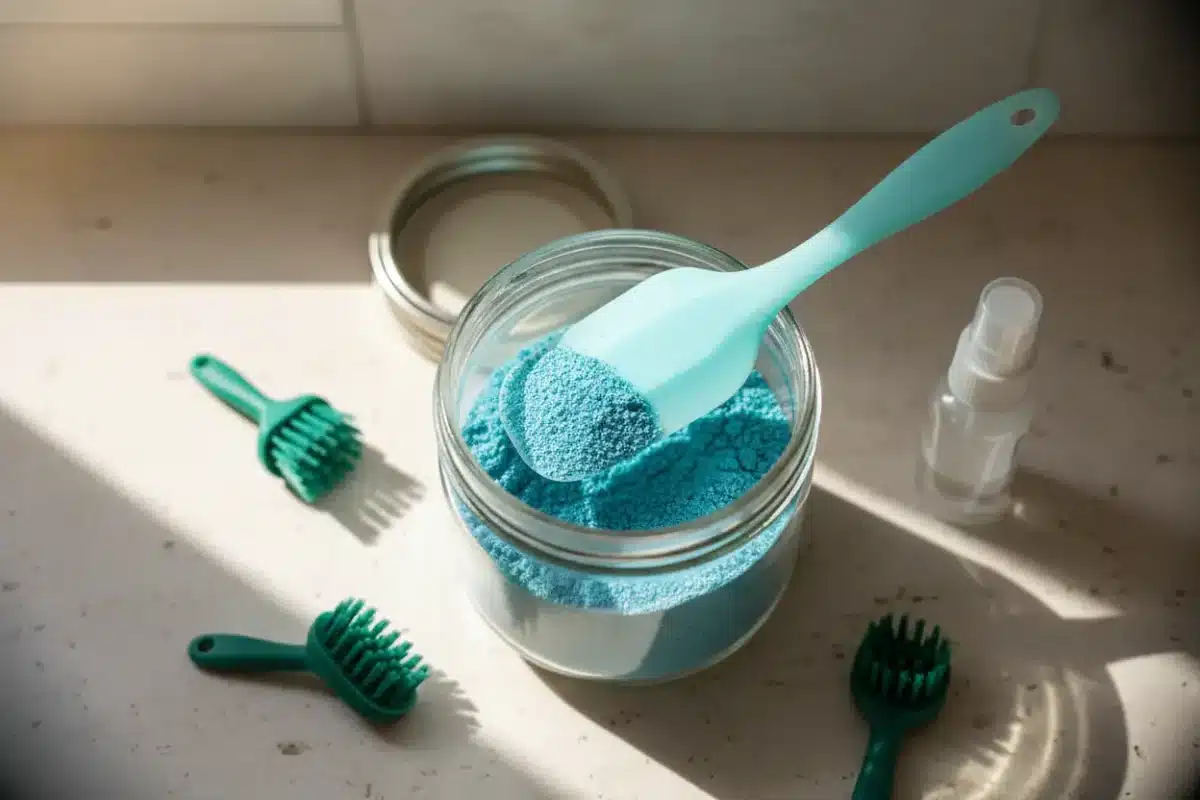
If your shower seals have started to look yellowed over time, you don’t have to panic. The key is to use the same basic method as you would for mold, but with a smart focus on household remedies. Here’s what works:
- Sprinkle baking soda over the yellow or moldy areas.
- Spray white vinegar on top and let it fizz—the chemical reaction helps lift stains and grime.
- Wait a few minutes, then gently scrub the area with a soft brush or sponge.
- Rinse thoroughly to remove any residue.
This combo isn’t just satisfying to watch as it bubbles—it’s genuinely effective at tackling stubborn discoloration without harsh chemicals.
When It’s Time for New Seals
Sometimes, no amount of elbow grease will save shower seals that are truly past their prime. Replacing old, worn-out seals might sound daunting, but it’s actually a manageable DIY job:
- Use a sharp utility knife or cutting tool to carefully remove the old sealant or strip.
- Clean the area thoroughly to get rid of any leftover mold, mildew, or soap scum.
- Apply a fresh bead of silicone sealant with a caulking gun (available at most hardware stores).
- Smooth the sealant gently with your finger before it starts to set, ensuring a watertight finish.
No special skills required—just steady hands and a little patience!
As with many cleaning challenges around the house, prevention is your best friend. By cleaning and drying your shower seals regularly, you can stop the buildup of grime and mold before it becomes a problem. With just a bit of regular effort, your shower seals can stay looking clean and fresh—no more unsightly black or yellow stains. Who knew the secret to a sparkling bathroom was this simple?